HOA & Commercial Account Setup Guide
How to set up and manage HOA and commercial accounts with multiple properties, net-terms billing, and client portal access.
Last updated June 1, 2026
Managing an HOA or commercial property account is different from a standard residential customer. One billing contact, multiple service locations, net-payment terms, and an AP department that needs proper documentation — Lawnager handles all of it. This guide walks you through setting everything up correctly from the start.
Step 1: Enable Multi-Property Accounts
Before you can add multiple service locations to a single account, you need to turn on the feature.
- •Go to Settings → Business Profile
- •Scroll down and toggle Multi-Property Accounts on
- •Click Save
This is off by default to keep things simple for residential-only operators. Once enabled, every customer record gains a Properties section.
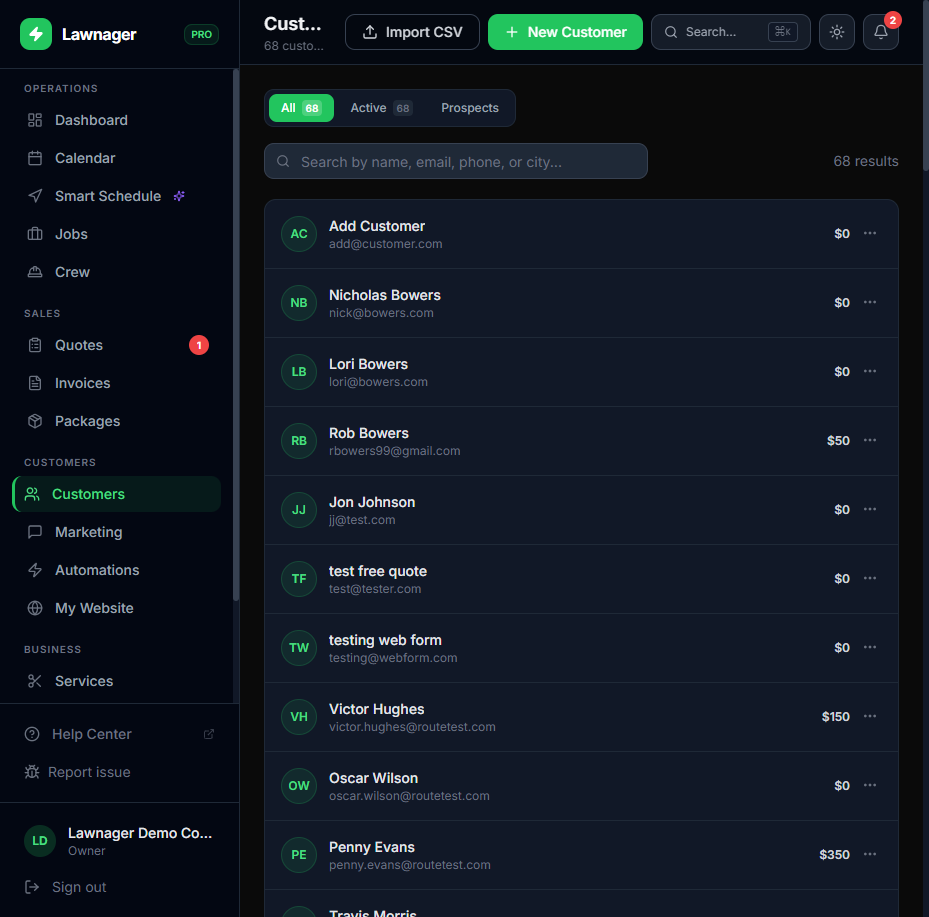
Step 2: Create the HOA or Commercial Customer
- •Go to Customers and click Add Customer
- •Enter the billing contact's name, email, phone, and address
- •Under Account Type, select HOA or Commercial (instead of Residential)
- •Set your billing terms — choose from Net 0, Net 15, Net 30, Net 45, Net 60, or Net 90
- •If the HOA or company has a separate AP email address, enter it in the Billing Email field
- •Optionally set a late fee percentage for overdue invoices
- •Click Save Customer
Tip: Selecting HOA or Commercial unlocks net-terms billing, sequential invoice numbering (
INV-YYYY-NNNN), and a Statement Download option in the client portal — useful for AP departments processing your invoices.
Step 3: Add Service Properties
Once the customer is saved, open their record and scroll to the Properties section.
- •Click Add Property
- •Enter a label (e.g., "Building A", "12 Oak Ln", "North Parking Lot")
- •Start typing the street address — Google Places autocomplete will fill it in
- •Optionally set a per-property default price or average visit time (otherwise it inherits from the customer profile)
- •Add any property-specific notes for your crew
- •Click Save
- •Repeat for each service location
The first property you add automatically becomes the Primary property. To change this, click Promote to Primary on any other property.
Important: You cannot delete the primary property. Promote another property first, then delete the old one if needed.
Step 4: Create Jobs for Specific Properties
With multiple properties set up, job scheduling works slightly differently:
- •Go to Jobs → Create Job (or click Create Job from the customer record)
- •Select the HOA/commercial customer
- •A Property dropdown will appear — select the specific location for this job
- •Fill in the service, date, crew, and other details as normal
- •Click Save
Each job is tied to a specific property, so your crew sees the correct address (and property label like "Building A") in their field app — not the billing contact's address.
Route optimization note: Smart Schedule uses each property's exact coordinates when building routes, so all 12 buildings in an HOA cluster correctly on the map.
Step 5: Invoicing the Account
Invoices roll up at the customer (billing entity) level — one invoice covers all properties, which is what most HOA and commercial clients expect.
- •Invoices follow sequential numbering (
INV-2025-0042) automatically - •Send invoices to the Billing Email if you set one in Step 2
- •The client portal's Statement Download lets your contact export a date-range PDF of all invoices — handy for their AP team
If you have recurring service on multiple properties, set up a recurring schedule per property and enable Auto-generate invoices (in Jobs → Schedules → Edit Schedule) so billing happens automatically.
Step 6: Set Up Client Portal Access
Your HOA or commercial contact gets one portal link that shows all properties in their account.
- •Go to the customer record and click View Customer Portal (or toggle portal access on)
- •The portal link is sent automatically when you add the customer (if the Customer Welcome automation is enabled in Settings → Notifications)
- •In the portal, your contact can see upcoming jobs by property, pay invoices, download statements, and submit new service requests
Common Pitfalls
- •Forgetting to enable Multi-Property Accounts first — the Properties section won't appear until you flip the toggle in Business Profile
- •Using the wrong account type — selecting Residential instead of HOA/Commercial means you won't get net-terms options or sequential invoice numbering
- •Scheduling jobs without selecting a property — if a customer has multiple properties, always pick the right one from the dropdown or your crew will show up at the wrong address
- •Deleting the primary property — promote another property first, then delete
Upload Your W9
Commercial clients often need your W9 before they can pay you. Upload it once in Settings → Business Profile, and your commercial/HOA portal customers can download it themselves — no back-and-forth email needed.
Related articles
Still have questions?
Contact support →